Activity completed on September 15, 2015.
Tuesdays are the day Tripp and I get to spend entirely together. Usually we go to the library in the mornings, he naps, and then we have fun with an activity in the afternoon - anything from going to the park if the weather is nice to a craft or just free play. Tuesdays are great and I really cherish them, because all too soon he'll be in school and we won't have this free time together.
I thought having some fun with colored rice would be a nice way to spend one of our Tuesday afternoons. In the morning, before we went to the library, I followed these directions from
Paging Fun Mums and by the time he was finished with his nap and lunch it was dry and ready to be played with.
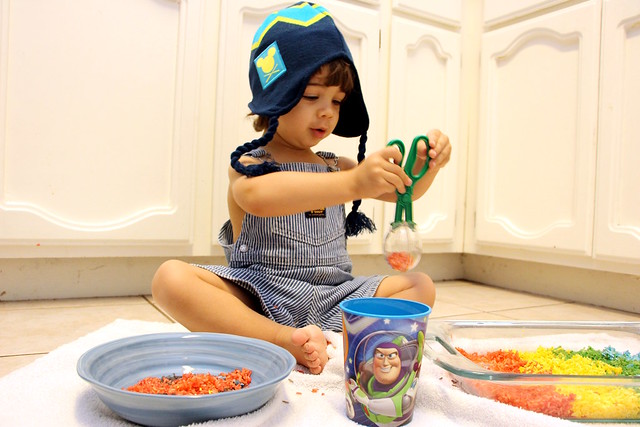
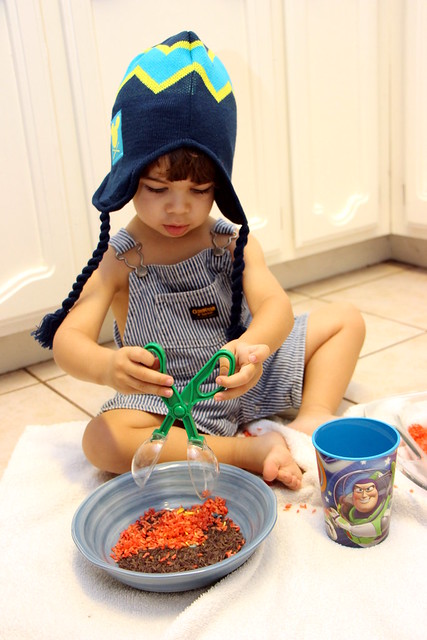
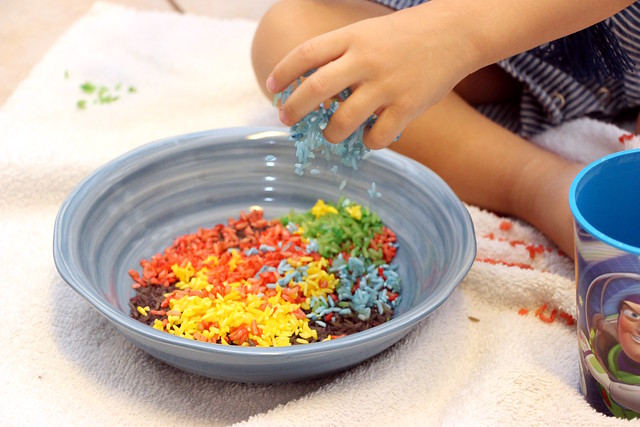
While I was making the rice I let him choose the colors. We ended up with blue, green, yellow, red and a very dark purple.
We donned our winter hats, as you do, and got to playing. I had cups and bowls out to experiment with moving the rice. He got right into it.