Friday, December 25, 2015

Colored Rice Craft

Activity completed September 6, 2015.

This was a simple addition to our fun with colored rice. It couldn't be easier - all you need is:
  • Colored rice
  • Cardstock
  • Clear-drying glue
We each made designs with the glue on our paper. I went for a heart shape while Tripp experimented with how the glue flowed and how hard he needed to squeeze. Then we added handfuls of the rice onto the paper. A few minutes later I shook the loose rice from each paper and we had our colorful designs!


Friday, December 18, 2015

Exploring Colored Rice

Activity completed on September 15, 2015.

Tuesdays are the day Tripp and I get to spend entirely together. Usually we go to the library in the mornings, he naps, and then we have fun with an activity in the afternoon - anything from going to the park if the weather is nice to a craft or just free play. Tuesdays are great and I really cherish them, because all too soon he'll be in school and we won't have this free time together.

I thought having some fun with colored rice would be a nice way to spend one of our Tuesday afternoons. In the morning, before we went to the library, I followed these directions from Paging Fun Mums and by the time he was finished with his nap and lunch it was dry and ready to be played with.

While I was making the rice I let him choose the colors. We ended up with blue, green, yellow, red and a very dark purple.


We donned our winter hats, as you do, and got to playing. I had cups and bowls out to experiment with moving the rice. He got right into it.


Friday, December 11, 2015

Fall Leaves Garland Craft

Activity completed November 2015.


I first spotted the idea for this fall leaves craft on Raising Arizona Kids. It was a perfect fit for a Tuesday afternoon at home since we always buy Viva paper towels and we had plenty of pipettes and food coloring on hand.


The idea is simple: draw or trace leaves on paper towels with Sharpie, then use the droppers to drop colored water onto the towels. When they're dry, cut them out and string them up for a pretty seasonal garland.


One thing I enjoyed in contrast with the original blogger's leaves was the colors on each leaf. Ours turned out with lots of colors on each leaf and it looks so pretty, particularly in person. Tripp likes any craft where he gets to use those pipettes!

Friday, December 4, 2015

Marshmallow Engineering

 Activity completed September 8, 2015


Marshmallow engineering is a super simple, fun STEM activity. It's easy to set up and clean up and chances are you already have what you need in your kitchen. When we recently visited the Children's Museum of Phoenix, they had this set up in one of their side rooms.

All you need is marshmallows of various sizes and dry spaghetti noodles. Then you can let imagination do the rest. See how tall or long something can be built. What kind of support do marshmallows offer? Can you replicate a famous bridge or building with food? What else can you use to build with? Imagination is limitless...

Friday, November 27, 2015

Recipe: Apple Sausage Stuffing Bites

I saved this Weelicious recipe in a text document a year and a half ago and finally made it! I made a few changes - so I figured I'd share my version of this yummy kid-friendly meal here.


Ingredients
4 cups of cubed day-old sourdough bread
1 cup cooked sausage with sage
1 chopped medium apple
1 cup chopped red onion
1 cup water (I'll probably use chicken stock next time though)
2 beaten eggs
1 tsp olive oil
Spices to taste (thyme, salt, etc.)

Directions
  1. Preheat oven to 350.
  2. Heat oil in a frying pan. Add the sausage, apple, red onion and spices. Heat about 5 minutes until everything is hot and the apple and onion is getting soft.
  3. In a large bowl, mix sausage mixture, bread, water, and eggs.
  4. Spoon the mixture into a greased muffin tin (we got 14 out of our mix).
  5. Bake for 45 minutes.
  6. Enjoy!

Friday, November 20, 2015

A Glittery Pumpkin

Activity completed October 13, 2015.

We did a very simple painting activity today. I cut out the shape of a pumpkin on cardstock and we painted with glitter and black paints. We had fun watching the glitter show up, and when we added some black paint to the purple glitter paint, we got black glitter paint! So pretty and a wonderful addition to the "punkin wall."


I also helped Tripp write his name and the year on the bottom of the pumpkin. He held the pen and I put my hand around his so he could feel the shapes of the letters as we wrote together. When his daddy asked what his favorite part of the picture was, he pointed to his name.


Friday, November 13, 2015

Silly Little Pumpkins (Sensory Fun)

October Activity

One of my favorite things about fall is the silly pumpkins at the store - not the huge round orange ones, although I like those too, but the misshapen, striped, bumpy, warty pumpkins.


Last year I bought a few of these funny pumpkins for Tripp to check out. He was just over a year old. He had a lot of fun looking at them, feeling the bumps and ridges, and rolling them around. Since it was so fun, I did it again this year. This will probably be a yearly thing and maybe next year he'll want to pick his own silly pumpkins out at the grocery store.

There's so much to talk about with pumpkins: size, shape, color, texture, etc.


Just for fun, here's a comparison of last year and this year...

Friday, November 6, 2015

Pumpkin Sticker Fun

Activity completed October 6, 2015


This was another simple activity, but a fun one that occupied Tripp for quite awhile. I cut out a jack o'lantern from construction paper and set out stickers for Tripp to decorate it with.

He surprised me by wanting to group all of the stickers of the same type together. He decided to do this entirely on his own as he'd peel off a sticker, place it and look for "more more" on the sticker sheet. After awhile, he started defining each sticker as baby, mommy, and sometimes daddy. He also learned some Halloween vocabulary: witch, pumpkin, and bat.

Friday, October 30, 2015

Our Pumpkin Patch - Cute Family Autumn Craft

Activity completed October 6, 2015.

This was a super easy, but adorable little picture we put together in October.


Supplies
White cardboard
Orange paint
Green marker or paint
Black Sharpie

I decided to mix together red and yellow paint to show Tripp how it turned orange. I put two globs of each color of paint on a strip of aluminum foil, then gave Tripp a toothpick (or, as he calls it, "pick pick"). We each mixed together our globs of paint and watched it turn orange.

Then I dipped Tripp's thumb in the orange paint and pressed it on the paper. I did the same, then we corralled Tripp's daddy into doing it.

Once it dried I added green 'stems' and the words on the picture.

I think it looks adorable!

Friday, October 23, 2015

Shape Pumpkin

Activity completed October 6, 2015.

We made a fun Shape Pumpkin this October!

Supplies
Contact paper or Scotch single-sided laminating sheets (2)
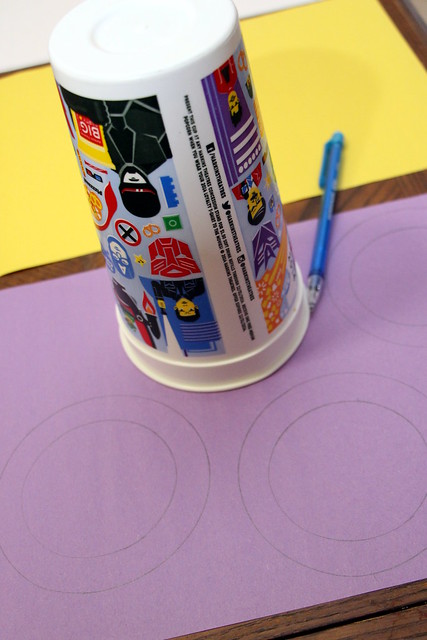
Construction paper or tissue paper cut into shapes - rectangles, squares, circles, triangles, etc.
Painter's tape (optional)


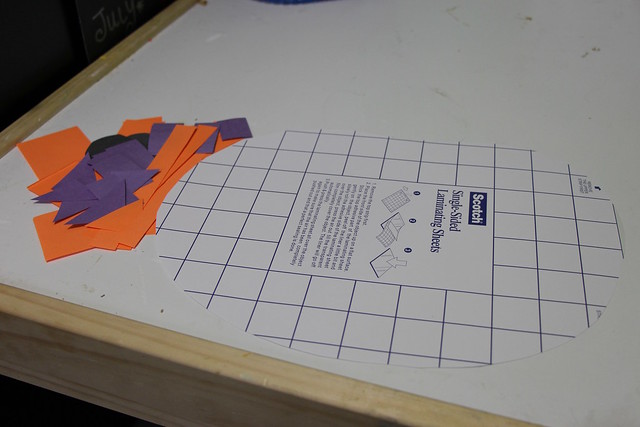
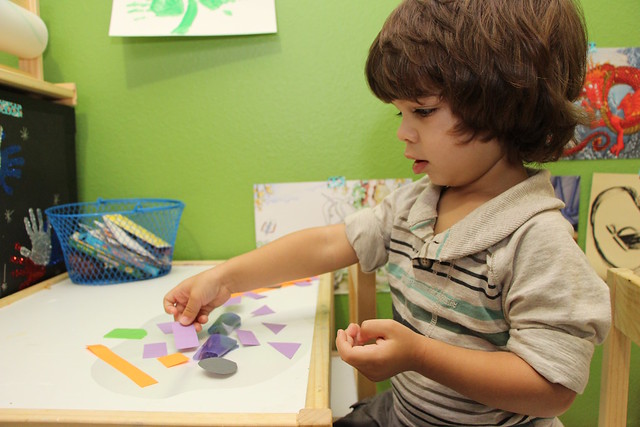
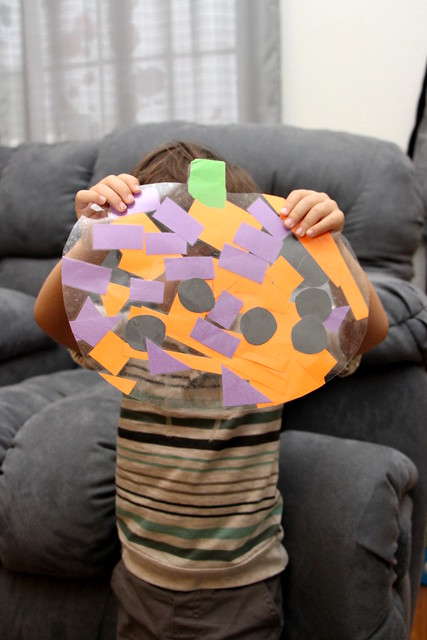
I cut out the shape of a pumpkin from the laminating sheet and pulled the backing off to expose the sticky side. I added a green stem too. Tripp had a lot of fun with the stickiness! I used painter's tape to hold the pumpkin to the table, but it wasn't really necessary.

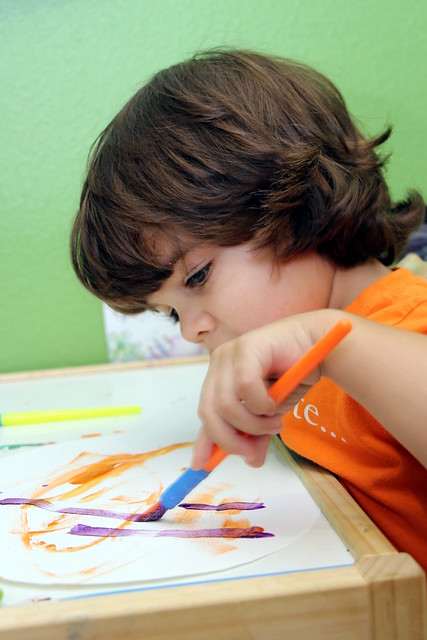
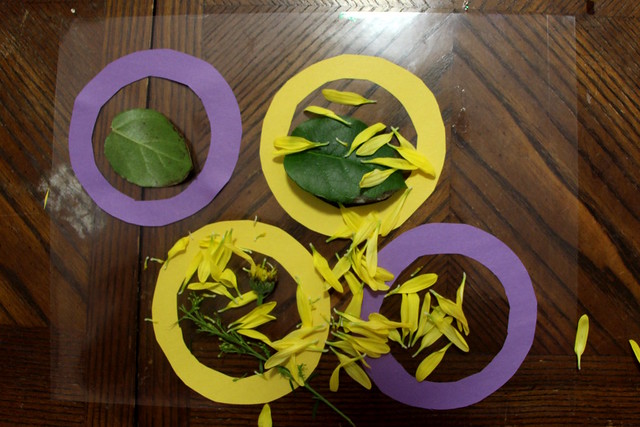
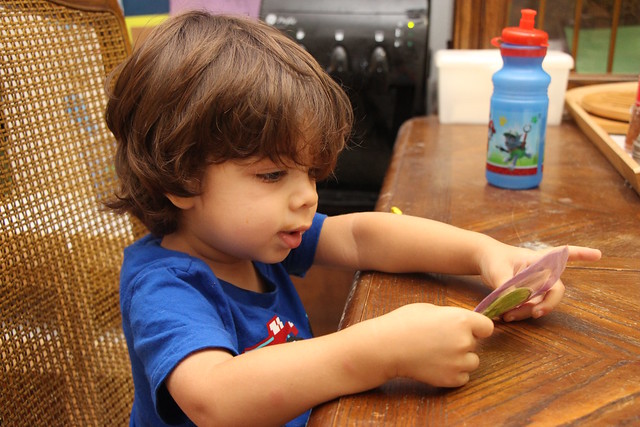
Then I just let Tripp put the shapes on as he wanted. While he did we talked about each shape and the colors of the construction paper.


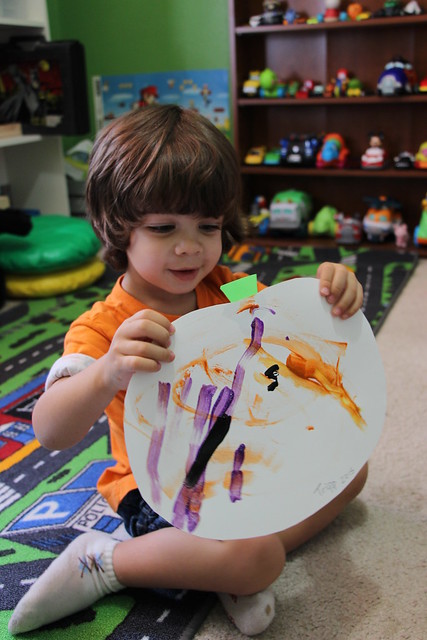
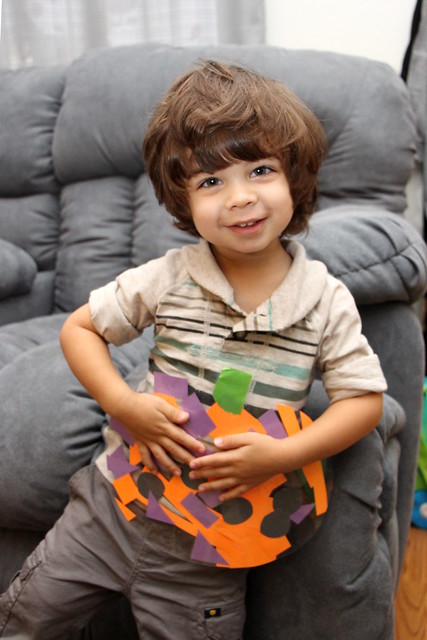
When we had used up all of the shapes, I put another laminating sheet over them and cut out the pumpkin shape. Then we had our finished pumpkin!


This would be a really easy activity to adapt to an older child. You could let them cut out the shapes, for example. I think I may repeat it next year and see how his pumpkin evolves!

It would also be easy to do with other shapes, like Christmas trees, ghosts, etc.

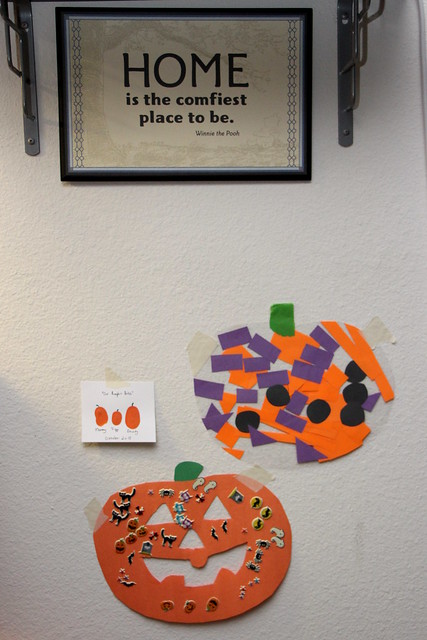
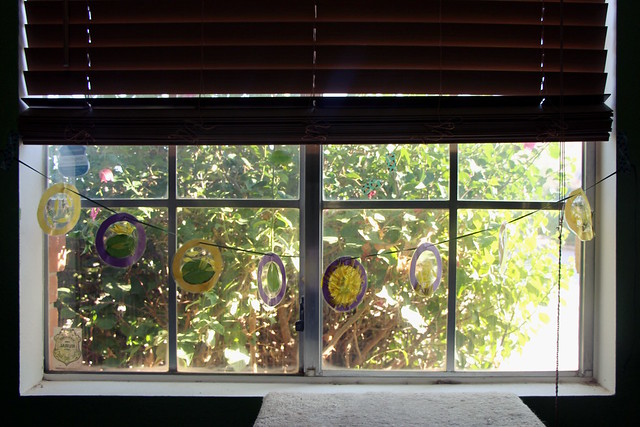
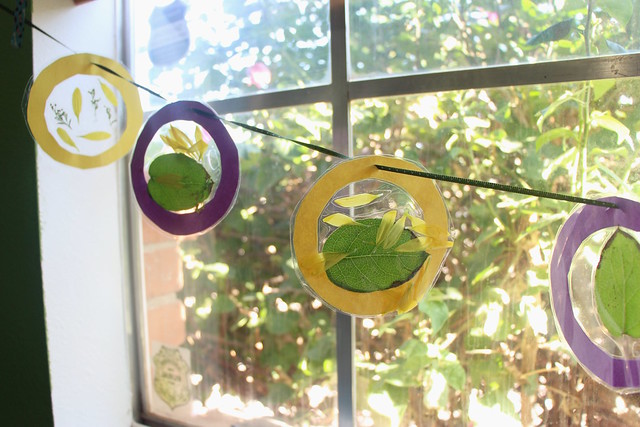
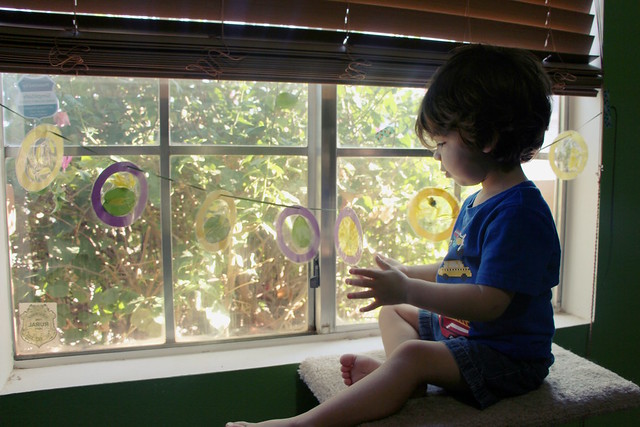
I think this would look nice in a window, but Tripp decided that we should add it to what is quickly becoming our Pumpkin (or punkin, as he says it) Wall.


Friday, October 16, 2015

A Painted Jack O'Lantern

Activity completed September 29, 2015.

I found a pair of these thick cardboard jack o'lanterns at Hobby Lobby and picked them up for us to decorate. One I kept as a stencil to trace onto construction paper. The other I let Tripp paint. He wasn't very interested, but he painted a good amount of it.

I put it up on our screen door where I usually put seasonal "Welcome" signs. This really helped him take ownership and pride in the project. Whenever he'd see another pumpkin, he'd talk about the pumpkin outside.

Friday, October 9, 2015

A Pretty Flower Window Garland


 Project completed 8/18/15

I love having fresh flowers in the house, but unfortunately both of our cats like them too - a bit too much. They will find any flowers I put out and either knock the vase over or chomp them to bits. When this happened recently to a bunch of flowers, I decided we could turn them into a pretty window decoration instead. It was easy and still adds that pretty look of flowers.


For this project we used:
  • Flowers
  • Contact paper (or these laminating sheets)
  • Construction paper
  • Pencil
  • Scissors
  • Hole punch (optional)
  • Ribbon (or string) 

First I traced a cup eight times on yellow and purple construction paper to form the circles (the rim of the cup for the wider circle and the bottom of the cup inside). I cut these out to form rings.


On the laminating sheets, I laid the rings down on two laminating sheets - four for Tripp and four for me. I let him choose the colors and he picked two purple and two yellow rings.

Then we pulled apart the flowers, talking about the types of flowers, the colors and how sticky the laminating sheet was.


After the circles were filled, I put another sheet on top of both of our laminating sheets and pressed down to seal them together. I cut the circles out and carefully pressed as hard as I could to get all the air out.

These were fun for Tripp to look at. Almost like real nature flash cards or something like that.


Then it was simple to cut out a hole and string the circles on ribbon. Attached to the playroom window, they make a pretty nature display!

Friday, October 2, 2015

Free, Random Play

I have been working on setting up our extra bedroom as a playroom for Tripp, and in doing so I've decided to keep my old Ikea Expedit desk as a craft station. Slowly I'm consolidating all of the random craft supplies in the house into this one spot (I have more than you'd think, for someone who doesn't really consider herself artistic). It has worked so well, with tons of storage, and has been a spot for many fun activities and crafts. It's really nice to have a little corner of the house set up just for creativity.

The other day I was looking through some craft supplies and Tripp spotted some dowel caps. Add to that some beads, air dry clay (could have used play dough, too, but I decided to use up the rest of the clay), and some Lakeshore implements he got for his birthday from his cousin, and why not have some creative open ended fun? I put it all into a disposable aluminum baking sheet and let him do what he wanted.


He had fun putting the beads into small plastic containers and dumping them out, asking me to form balls of clay and then picking them up with the tongs, rolling the dowel caps around and pressing beads into the clay. The air dry clay we used was from Crayola and was sparkly, too, which added a fun dimension to his explorations. So fun!

He spotted some glitter glue from the same cousin at the end of his play and of course we couldn't stop without trying that!

Friday, September 25, 2015

Dry Shelters - Monsoon Learning Activity

Here in Arizona, we have a summer monsoon that can often be very dramatic, and scary for kids. It sounds weird to talk about a monsoon and heavy rain in the desert, but it happens every year. Here's some information from Arizona State University about our monsoon...

 The Arizona Monsoon is a well-defined meteorological event (technically called a meteorological 'singularity') that occurs during the summer throughout the southwest portion of North America. During the winter time, the primary wind flow in Arizona is from the west or northwest—from California and Nevada. As we move into the summer, the winds shift to a southerly or southeasterly direction. Moisture streams northward from the Pacific Ocean and the Gulf of Mexico. This shift produces a radical change in moisture conditions statewide.

Recently at Tripp's weekly library group, we got the chance to explore making dry shelters during rain. Our teachers set out material like cardboard, blocks, straws, and other items and asked us to work with our kids to make a shelter for someone (Little People toys) from the "rain" (a spray bottle of water).


This activity was a little tricky to me because Tripp's not quite at the age to grasp something like this. He's also not a huge fan of building with blocks; he'd rather knock them down, if anything. So ultimately our shelter ended up being more of my design - I tried to engage Tripp but he wanted to play with cars (maybe I should have presented it as a shelter for cars instead!).

This is one I plan to revisit later, maybe next year, when he can grasp the idea of sheltering from the rain. I think it will be fun to hunt around our house to find material to protect a doll from the rain. Filing this one away!

Friday, September 18, 2015

Pipette Salt Painting - Everyday Math Activity

This was a project that didn't work as well as I was hoping. It may be one we revisit in the future though!

I wanted to do a project with number shapes and pipettes (because pipettes are Tripp's favorite way to make a mess - I mean art! Ha!). I'd seen blog posts like this one that seemed fun, easy, and not overly messy, so I got our supplies and we headed to the playroom craft table.


Supplies:
  • Cardstock
  • Pipettes
  • Glue
  • Table salt
  • Watercolor, or water with food coloring
  • A pencil
This project was great for everyday math learning, numbers literacy, color mixing, and fine motor exercise.

I drew the numbers 1, 2, and 3 on paper and had Tripp help me trace them with glue. Then we added salt and tried our hand at the pipettes. However, Tripp's love of spraying the colored water all over the place was our downfall. You have to be a little more mindful and slow with this project, so that you can see the salt absorbing the color. This is one we'll come back to when he's a little older!

It's still fun to see him learning and reacting to new things, though!

Friday, September 11, 2015

What's That Sound? Everyday Math Activity

A weekly group Tripp and I attend uses the Parents as Teachers curriculum. This idea was part of one of the weekly handouts under Everyday Math, and I thought I'd give it a try with Tripp.


What's that sound?
This activity will give your child the opportunity to use her sense of hearing to match sounds. You will need several small containers with lids. Make a few pairs of shakes by partially filling the containers with small objects and taping the lids on securely. For example, put a few dried beans in two of the containers, paperclips in two others, and so on. Tell your child to shake a container and then find the one that sounds the same. 

Our downfall for this activity was doing it on the craft desk in his work-in-progress playroom - the same spot we've done a few projects with pipettes, which Tripp loves. (Hence why the desk is a little dirty, too... too much science!) He spotted the pipettes right away and wanted to do something with them instead of listening to rattling containers - but we pressed on anyway.

I filled 3 containers, one with M&Ms, one with small beads and one with pennies. We enjoyed rattling them, identifying the sounds and identifying what was the same and different. And then we moved on... to a pipette activity. Ha!