Friday, August 28, 2015

Shark Footprint Art

In honor of this past Shark Week I turned Tripp's foot into a shark!


He found sea animal-themed foam stickers at the Dollar Tree and we had fun turning them into an art project. We used blue construction paper, a black marker, the stickers, and grey paint on his foot to complete our ocean scene.

So many stories could be made up about this big shark and his undersea friends. There's an octopus family, a tiny boat, leaping dolphins and plenty of plants. Although he has a lot of teeth, this big shark looks friendly enough, so who knows what mischief he could get up to?

Friday, August 21, 2015

Ribbon Ring Fun


 Activity completed August 24, 2015.

The other day I saw this link from Laughing Kids Learn about dancing rainbow ribbon rings. It looked super simple and fun, but I didn't have any curtain rings laying around. While making dinner, inspiration hit me - in a box of Tripp's outgrown, baby toys, I had a set of baby links, similar to these (though I can't find ours exactly).

I got some ribbon from our craft stash and it was super easy to cut and tie to the link. We went outside so Tripp could check it out. He was much more in "flail about wildly" mode vs. "dance with the pretty ribbon," but it was still fun! And we have plenty of links and ribbon, so it will be easy to make more.

Tissue Paper Tree (Seasonal Activity)

This simple little tree turned out just adorable, and so simple too - composed of a construction paper background, a black marker trunk, and creatively added tissue paper leaves. Let your little one practice with dispensing white glue on each branch before adding the tissue paper; let them choose the color of paper or choose ahead of time according to the season.

Wouldn't this be cute as a four-part series to illustrate the changing seasons? Add flowers for spring, green leaves for summer, put yellow and red leaves along the ground for fall, and use cotton balls for snow to illustrate winter. I see a new project coming up...

Friday, August 14, 2015

Sunflower Handprint Art


Sunflowers are so bright and cheery, and this handprint art reflects that, bringing a little sunshine into the house no matter the time of year.

It was easy to put this together, with construction paper (blue, pink, and green), yellow paint and a black marker. Tripp got some practice with scissors and cutting while I cut out the shapes. We added the dots together and I went over "left" and "right" while we chose which hand to use for each flower petal. A cute little thumbprint bee completed the picture.

Friday, August 7, 2015

STEM Fizzy Fun for Toddlers - Baking Soda and Vinegar Experiment

STEM - Science, Technology, Engineering and Math - is such a big topic right now. The reality is all of us use elements of these in our day-to-day lives, even if we think we hate math, or can't do science. Humans naturally approach problem-solving from a scientific perspective; we question, we experiment, and we grow our knowledge from personal experiences.

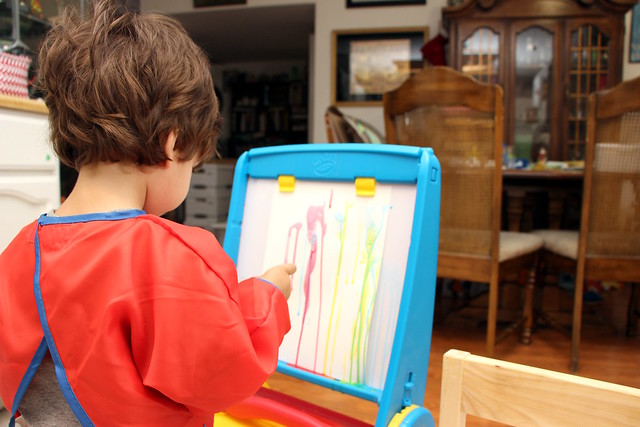
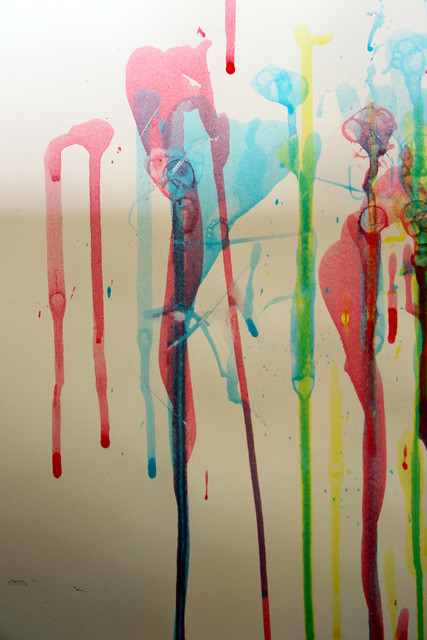
I have plenty of pipettes left over from our Waterfall Pipette Art, and decided to try this fun fizzy science project. It offers plenty of opportunity to discuss the scientific method with even the youngest kiddo, plus color concepts and fine motor skills.

For this project I used -
  • A large plastic container
  • Four small plastic containers
  • Four colors of food coloring
  • Vinegar
  • Baking soda
  • Pipettes
  • Plenty of baby wipes
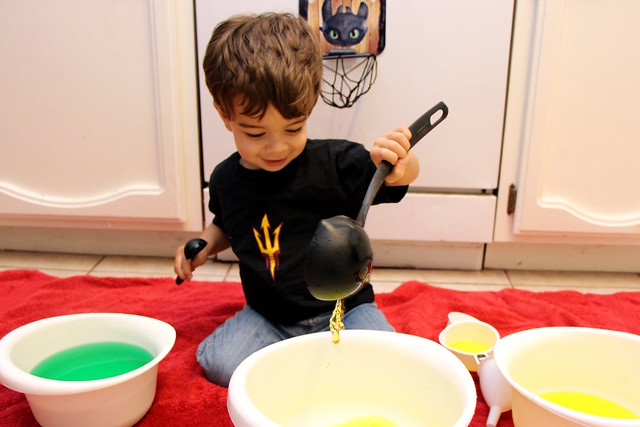
With Tripp on hand to help each step of the way, I poured the baking soda into the large container, then vinegar into the smaller ones. I helped him identify each color as I put food coloring in the vinegar. Then he got to explore, experimenting with the pipettes and the way the vinegar reacted to the baking soda.

He had lots of fun with this activity. At first he was content spraying the baking soda with vinegar and watching the fizz. He also experimented with drawing some colored liquid into the pipette and then adding a different color; he surprised himself by making orange this way from yellow and red.


Next he picked up some baking soda and dropped it into the containers of vinegar. Now, that was fun! From there we put the small containers into the large container so he could experiment with making them overflow and creating lots of fizz.


Here you can see his process of adding color and reacting to the fizz. Click to enlarge. Love it!


Afterwards I put him in the bath with some moisturizing soap, then made sure he was lotioned up. Baking soda can dry out the skin and I didn't want to risk that.

This is definitely an experiment we'll repeat!

Friday, July 31, 2015

Waterfall Pipette Art

I found this idea on the website Teaching 2 and 3 Year Olds. Tripp's not quite 2 yet, but he will be at the end of the month, and I thought he'd get a kick out of the pipettes and the streams of paint. So off I went to Amazon, ordered a pack of 100 pipettes, and found a Sunday with some free time.

I set up paper on Tripp's easel. I put it on top of an old sheet we use for any painting activities - he recognizes it now and knows when it's time for paint, and it's a lifesaver for cleaning up. I let him pick out the colors for the paint. He chose red, yellow, and blue, which I watered down in old Tupperware containers. Then I showed him how the pipettes worked and it was off to the races. He really enjoyed this activity!

Supplies:
  • pipettes
  • paint
  • containers for paint
  • water
  • paper
  • something to prop the paper up vertically on, such as an easel
This activity benefits:
  • fine motor control (getting paint into and out of the pipettes)color recognition
  • color mixing (as the yellow and blue mixed, for example, you could see streaks of green)
  • knowledge of gravity and the difference between vertical and horizontal
  • social skills (communicating which color to use, asking for help)

 Our finished product...

Of course no little artist's day is complete without kitty snuggles.


Friday, July 24, 2015

Water Color Mixing Activity

I have to say I think this is Tripp's favorite activity we have done so far and definitely one we need to repeat soon.


Super simple... you just need:
  • Containers (mixing bowls, Tupperware containers, old takeout containers, whatever!)
  • Spoons, cups and measuring cups of all sizes
  • Water
  • Food coloring
  • A towel, if indoors
Fill each bowl with a small amount of water and food coloring. Set out the bowls and the spoons and let your child practice scooping, pouring and mixing. The food coloring adds a fun element as the water changes color as it combines! When done, just dump out the bowls and put the towel (and probably your child's clothes) through the wash. Easy peasy.

I recommend starting off with a small amount of water in each bowl, and only a few bowls to start off with. You can always add more but starting with less lets you expand as needed and isn't overwhelming right from the start.


There's so much you can talk about with this activity... colors, measurements, volume, liquid vs. solid, wet vs. dry, etc. They get some motor development in there too. Heck, even test out Piaget's Theory of Conservation with them!