Showing posts with label paint. Show all posts

Friday, May 13, 2016

Mother's Day 2016: Potted Solar Lights

Activity completed April 2016 for Mother's Day, May 7.

One of the projects we did for Mother's Day this year was decorated terracotta pots with solar lights. I had seen this on Pinterest and thought that Tripp would enjoy decorating the pots, and he did. (Ignore the crooked light on the blue pot... I just stuck it in there for the photo.)


We used:
  • Medium sized terracotta pots
  • Small solar lights (found in Walmart's garden section)
  • Acrylic paint
  • Masking tape

I painted the pots first and then we decorated them. On one side of each pot we put Tripp's handprint. On the other side I taped masking tape and let Tripp finger paint over it. (Probably next time it would be best to do the handprint last, since I had to protect it from rogue paint.) You can do all sorts of things with the decoration of the pot... fabric, paper, paint, stickers, maybe even a photo.

Then all you have to do is Mod Podge (I used outdoor Mod Podge) to seal and add the solar light.

Some consideration should be taken with the solar light. We brought a pot into Walmart with us and tried different lights - our Walmart actually didn't sell plain terracotta pots so we couldn't just grab some off the shelf. The lights that fit were the smallest. Even so, when Tripp added some paint around the hole in the pot it made it a bit snug for the light. You'll want to consider that when painting and Mod Podge-ing.

Friday, March 11, 2016

Black Light Alice in Wonderland Fun

We visited the IDEA Museum on New Year's Day 2016.

This isn't a project we made, but something I saw at our local children's museum that I think was really cool! It would be a fun birthday party idea or rainy day activity.


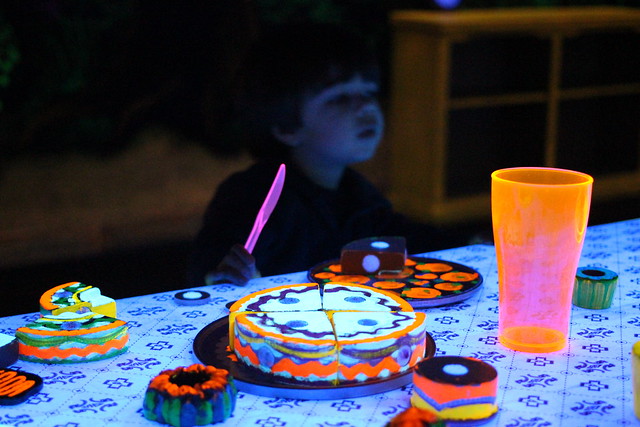
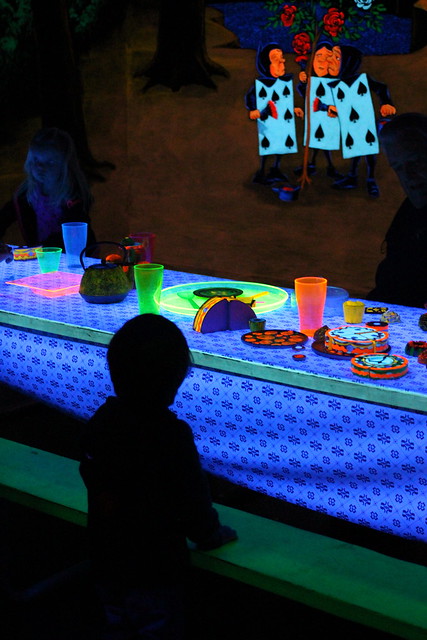
At the museum, they have a room that is completely black lit. It used to be set up like a campground at night with glowing stars on the ceiling, a picnic table, and tent.

Now the room is Alice in Wonderland themed with awesome glowing tableware, plates, bowls, and food. They painted Alice in Wonderland murals on all of the walls and painted toy food in paint that would react to the black light. It is really something magical and very fun to see!


Friday, March 4, 2016

Four Seasons Hand and Fingerprint Tree

This past Christmas I wanted to do as many homemade or handcrafted presents as I could. Handmade gifts are my favorite to receive and I want to nurture a spirit of giving of yourself in my kiddo so it was a natural fit this year. For my grandmother, I decided to try this project: DIY All Season Hand and Fingerprint Tree from Rhythms of Play.

The limitation here is how old your kiddo is and the size of their hand. We ended up going with small 4x4 canvas squares. We had a lot of fun with this project - so many colors of paint to choose from!  I was able to get it done in just a couple of days and I think it's adorable.

Friday, January 22, 2016

Rocket Birdhouse


Activity completed November 2015.

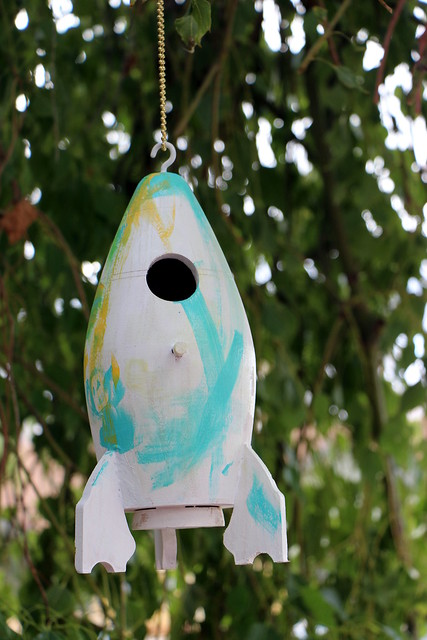
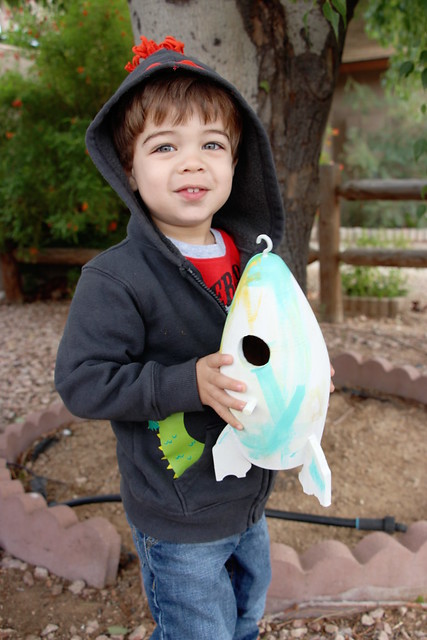
We spotted this wooden rocket birdhouse at Michael's and I knew it would be a lot of fun to paint. Tripp loves rockets and space shuttles. He likes to watch space shuttle launches on YouTube and has a toy space shuttle he pretends to blast off all the time. Naturally, then, he fell in love with this rocket.

First, I painted the rocket white. After it dried he chose some colors of acrylic paint (blue, yellow, and green) and painted it. (He wanted me to paint a "puppy" on one side, which you can sort of see in the picture, but I was able to convince him to paint the rest himself.) We also went over it with glow-in-the-dark acrylic paint and Mod Podge.

The addition of a hook and chain meant we could hang it outside. He loves it and likes to look around for birds to invite into the birdhouse. So far, none have claimed it but I imagine someone will by spring!

Friday, November 20, 2015

A Glittery Pumpkin

Activity completed October 13, 2015.

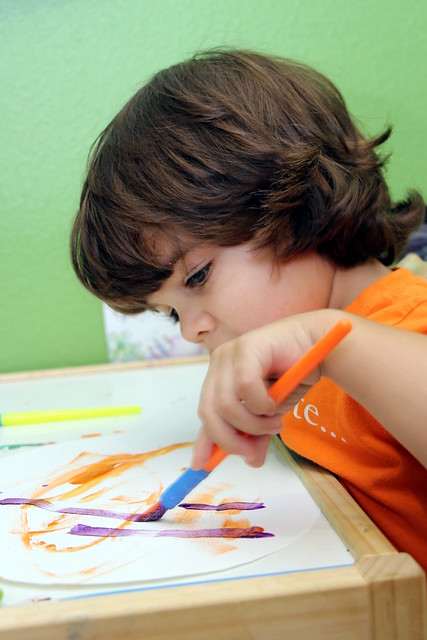
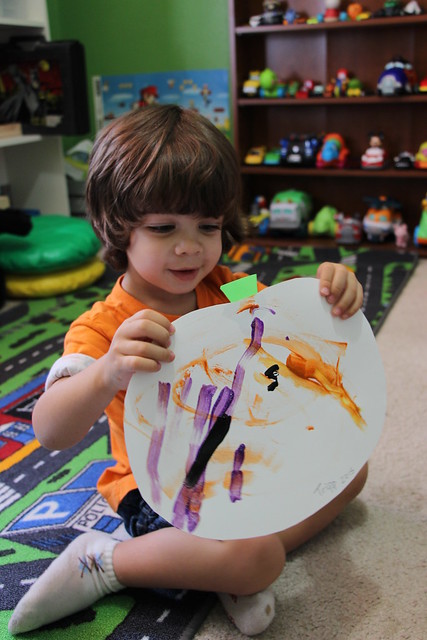
We did a very simple painting activity today. I cut out the shape of a pumpkin on cardstock and we painted with glitter and black paints. We had fun watching the glitter show up, and when we added some black paint to the purple glitter paint, we got black glitter paint! So pretty and a wonderful addition to the "punkin wall."


I also helped Tripp write his name and the year on the bottom of the pumpkin. He held the pen and I put my hand around his so he could feel the shapes of the letters as we wrote together. When his daddy asked what his favorite part of the picture was, he pointed to his name.


Friday, October 30, 2015

Our Pumpkin Patch - Cute Family Autumn Craft

Activity completed October 6, 2015.

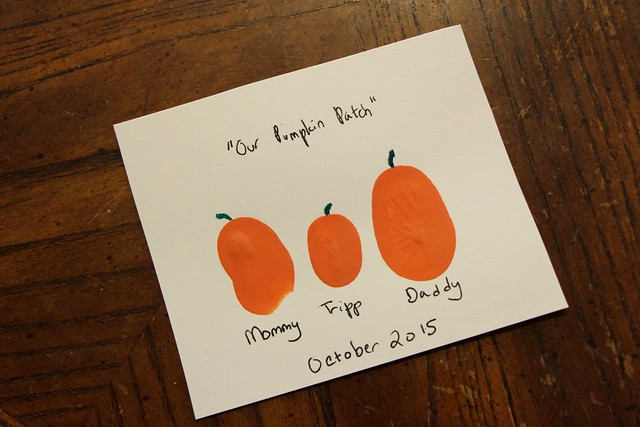
This was a super easy, but adorable little picture we put together in October.


Supplies
White cardboard
Orange paint
Green marker or paint
Black Sharpie

I decided to mix together red and yellow paint to show Tripp how it turned orange. I put two globs of each color of paint on a strip of aluminum foil, then gave Tripp a toothpick (or, as he calls it, "pick pick"). We each mixed together our globs of paint and watched it turn orange.

Then I dipped Tripp's thumb in the orange paint and pressed it on the paper. I did the same, then we corralled Tripp's daddy into doing it.

Once it dried I added green 'stems' and the words on the picture.

I think it looks adorable!

Friday, October 16, 2015

A Painted Jack O'Lantern

Activity completed September 29, 2015.

I found a pair of these thick cardboard jack o'lanterns at Hobby Lobby and picked them up for us to decorate. One I kept as a stencil to trace onto construction paper. The other I let Tripp paint. He wasn't very interested, but he painted a good amount of it.

I put it up on our screen door where I usually put seasonal "Welcome" signs. This really helped him take ownership and pride in the project. Whenever he'd see another pumpkin, he'd talk about the pumpkin outside.

Friday, July 31, 2015

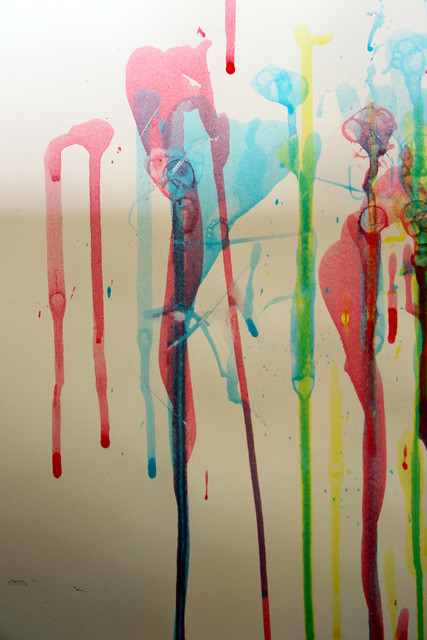
Waterfall Pipette Art

I found this idea on the website Teaching 2 and 3 Year Olds. Tripp's not quite 2 yet, but he will be at the end of the month, and I thought he'd get a kick out of the pipettes and the streams of paint. So off I went to Amazon, ordered a pack of 100 pipettes, and found a Sunday with some free time.

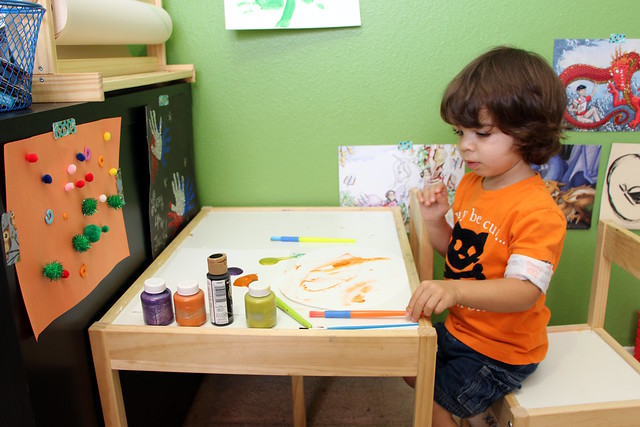
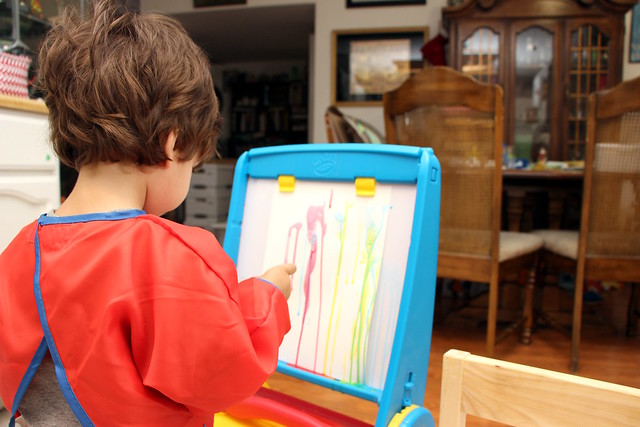
I set up paper on Tripp's easel. I put it on top of an old sheet we use for any painting activities - he recognizes it now and knows when it's time for paint, and it's a lifesaver for cleaning up. I let him pick out the colors for the paint. He chose red, yellow, and blue, which I watered down in old Tupperware containers. Then I showed him how the pipettes worked and it was off to the races. He really enjoyed this activity!

Supplies:
  • pipettes
  • paint
  • containers for paint
  • water
  • paper
  • something to prop the paper up vertically on, such as an easel
This activity benefits:
  • fine motor control (getting paint into and out of the pipettes)color recognition
  • color mixing (as the yellow and blue mixed, for example, you could see streaks of green)
  • knowledge of gravity and the difference between vertical and horizontal
  • social skills (communicating which color to use, asking for help)

 Our finished product...

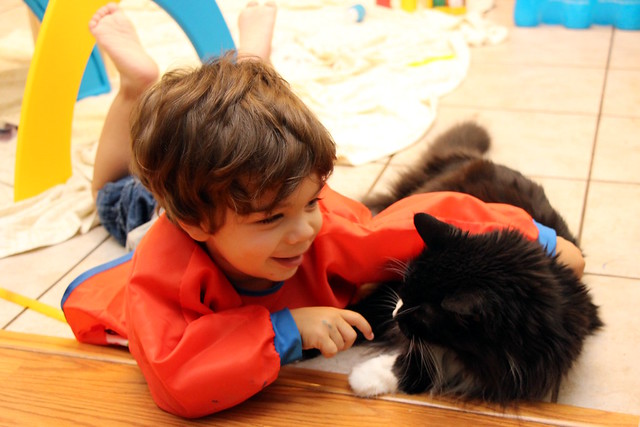
Of course no little artist's day is complete without kitty snuggles.


Friday, July 10, 2015

Painting With Water

This is a fun activity we did recently at my library's play/parenting group for ages 0-5. It was super simple... all that was required was a bucket, water (soap optional), and various types of sponges.


The kids were turned loose on the courtyard and got to "paint with water" - i.e. clean the place up! Most of the kids really enjoyed seeing how they could make marks on the wall and ground with the water. Tripp was surprisingly diligent and I liked seeing all of the nooks and crannies the kids found to "paint" in. When one kiddo found a spot, everyone clamored to try painting there. Plus, no clean up... they already did that for us.

Sometimes the simplest things are the best and most fun!

Friday, July 3, 2015

We Heart Tape Resist Art


Tape resist art is one of my favorite projects to do with Tripp. Brightly colored paint, tape (just as fun as stickers for him), a mess and a pretty picture at the end - what more could you ask for?

It's a great project for young kids because they can be completely free, and you can still shape it to fit the occasion.

For Father's Day, I decided to make some tape resist art with Tripp using his name for his grandpa, Tata. I like to use small canvases from the craft store for this craft. I just keep an eye on sales and coupons - you can often find good deals. I use masking tape, which adheres easily to the canvas and comes off easily at the end.

In the past I have used fingerpaint but this time around I decided to use acrylic paint. Tripp does not generally make too much of a mess with paint so I wasn't worried about washing - and the acrylic has a bolder color and dries more quickly. If he were in a messy mood, though, I'd stick with the fingerpaint or washable paint.

This project is simple: spell out the desired word using masking tape and stick it carefully down on the canvas. Pick out some colors or let your kiddo choose, and go to town painting. When it is mostly dry (but not completely dry), carefully remove the tape. Voila!


Here's one we did for Valentine's Day, in the bottom left corner. This was using fingerpaint, so the colors are not quite as bold but it turned out very pretty!