Activity completed October 13, 2015.
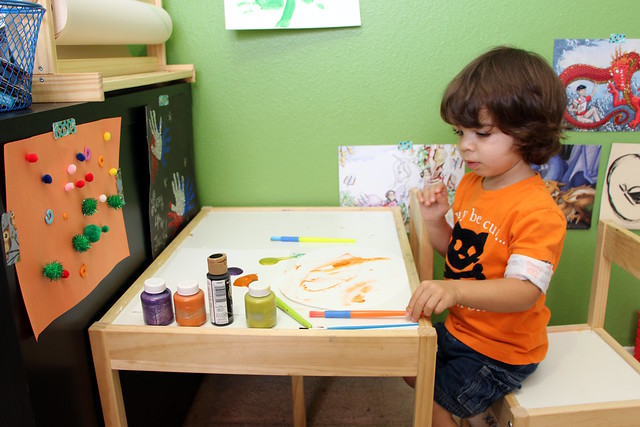
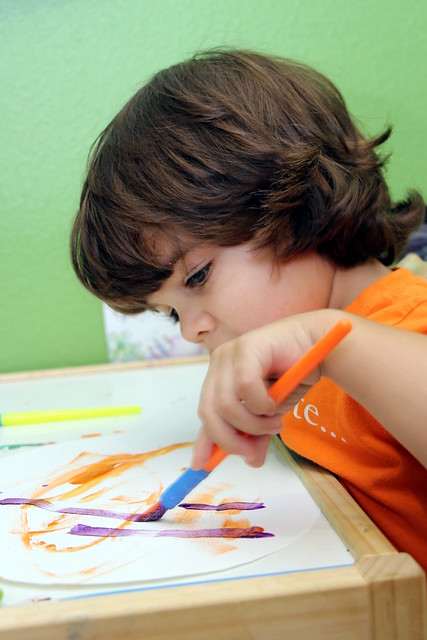
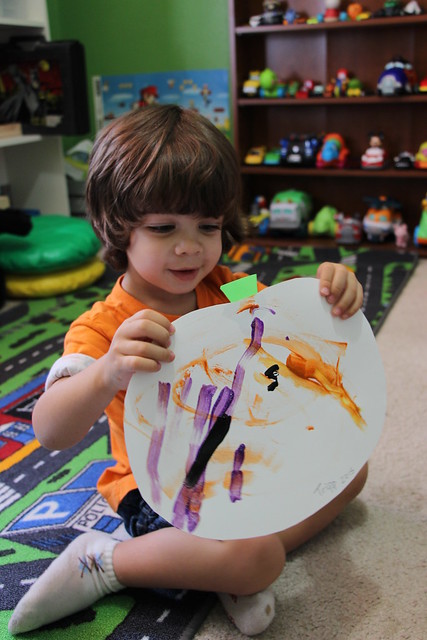
We did a very simple painting activity today. I cut out the shape of a pumpkin on cardstock and we painted with glitter and black paints. We had fun watching the glitter show up, and when we added some black paint to the purple glitter paint, we got black glitter paint! So pretty and a wonderful addition to the "punkin wall."
I also helped Tripp write his name and the year on the bottom of the pumpkin. He held the pen and I put my hand around his so he could feel the shapes of the letters as we wrote together. When his daddy asked what his favorite part of the picture was, he pointed to his name.
Showing posts with label pumpkin. Show all posts
Showing posts with label pumpkin. Show all posts
Friday, November 20, 2015
Friday, October 30, 2015
Our Pumpkin Patch - Cute Family Autumn Craft
Activity completed October 6, 2015.
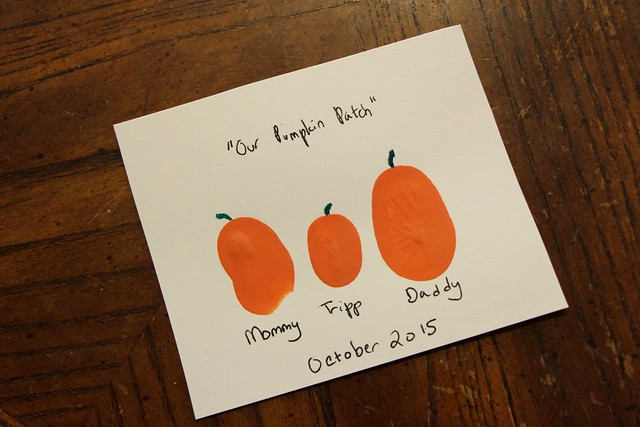
This was a super easy, but adorable little picture we put together in October.
Supplies
White cardboard
Orange paint
Green marker or paint
Black Sharpie
I decided to mix together red and yellow paint to show Tripp how it turned orange. I put two globs of each color of paint on a strip of aluminum foil, then gave Tripp a toothpick (or, as he calls it, "pick pick"). We each mixed together our globs of paint and watched it turn orange.
Then I dipped Tripp's thumb in the orange paint and pressed it on the paper. I did the same, then we corralled Tripp's daddy into doing it.
Once it dried I added green 'stems' and the words on the picture.
I think it looks adorable!
Friday, October 23, 2015
Shape Pumpkin
Activity completed October 6, 2015.
We made a fun Shape Pumpkin this October!
Supplies
Contact paper or Scotch single-sided laminating sheets (2)
Construction paper or tissue paper cut into shapes - rectangles, squares, circles, triangles, etc.
Painter's tape (optional)
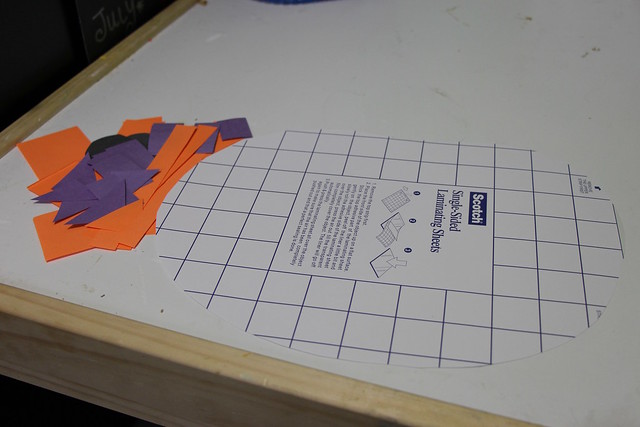
I cut out the shape of a pumpkin from the laminating sheet and pulled the backing off to expose the sticky side. I added a green stem too. Tripp had a lot of fun with the stickiness! I used painter's tape to hold the pumpkin to the table, but it wasn't really necessary.
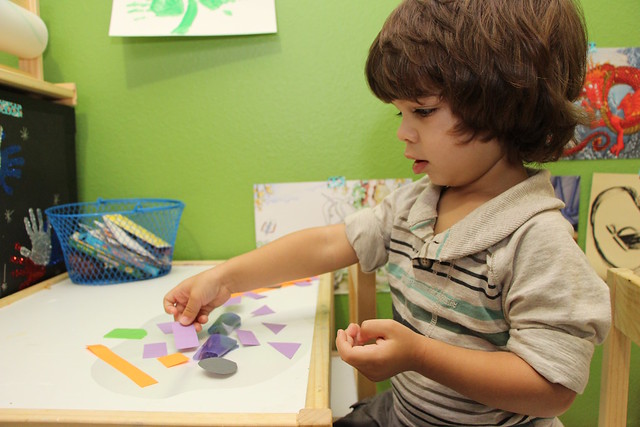
Then I just let Tripp put the shapes on as he wanted. While he did we talked about each shape and the colors of the construction paper.
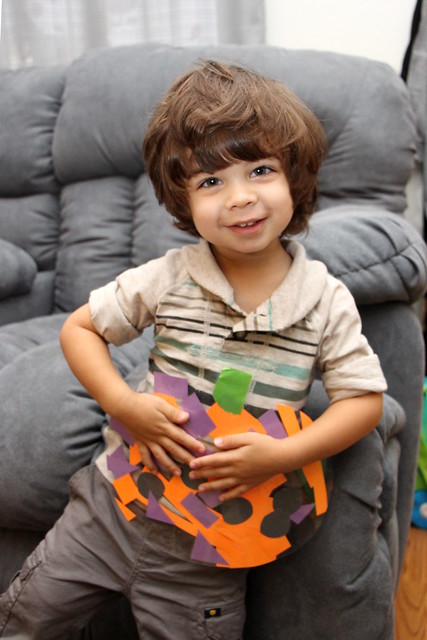
When we had used up all of the shapes, I put another laminating sheet over them and cut out the pumpkin shape. Then we had our finished pumpkin!
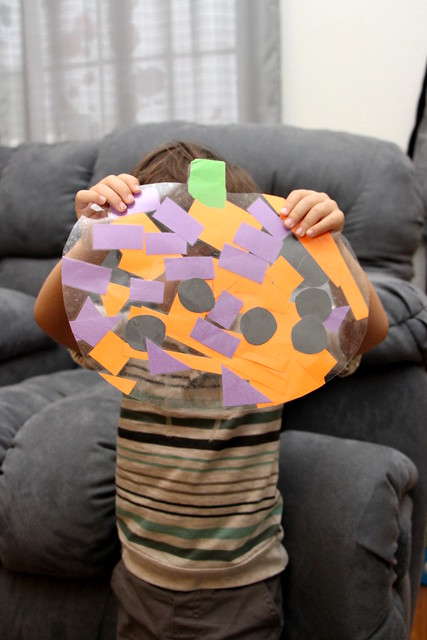
This would be a really easy activity to adapt to an older child. You could let them cut out the shapes, for example. I think I may repeat it next year and see how his pumpkin evolves!
It would also be easy to do with other shapes, like Christmas trees, ghosts, etc.
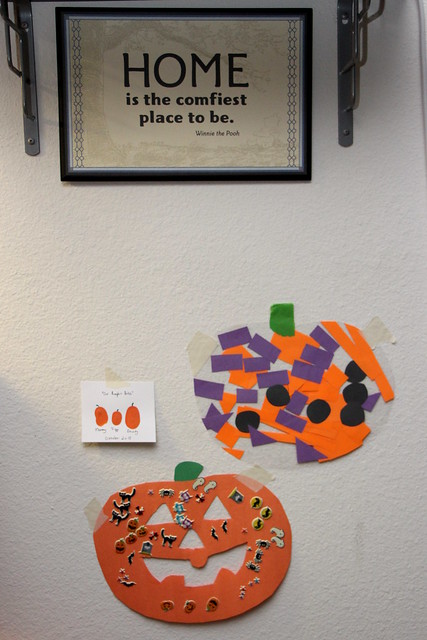
I think this would look nice in a window, but Tripp decided that we should add it to what is quickly becoming our Pumpkin (or punkin, as he says it) Wall.
We made a fun Shape Pumpkin this October!
Supplies
Contact paper or Scotch single-sided laminating sheets (2)
Construction paper or tissue paper cut into shapes - rectangles, squares, circles, triangles, etc.
Painter's tape (optional)
I cut out the shape of a pumpkin from the laminating sheet and pulled the backing off to expose the sticky side. I added a green stem too. Tripp had a lot of fun with the stickiness! I used painter's tape to hold the pumpkin to the table, but it wasn't really necessary.
Then I just let Tripp put the shapes on as he wanted. While he did we talked about each shape and the colors of the construction paper.
When we had used up all of the shapes, I put another laminating sheet over them and cut out the pumpkin shape. Then we had our finished pumpkin!

This would be a really easy activity to adapt to an older child. You could let them cut out the shapes, for example. I think I may repeat it next year and see how his pumpkin evolves!
It would also be easy to do with other shapes, like Christmas trees, ghosts, etc.
I think this would look nice in a window, but Tripp decided that we should add it to what is quickly becoming our Pumpkin (or punkin, as he says it) Wall.
Subscribe to:
Posts (Atom)

